
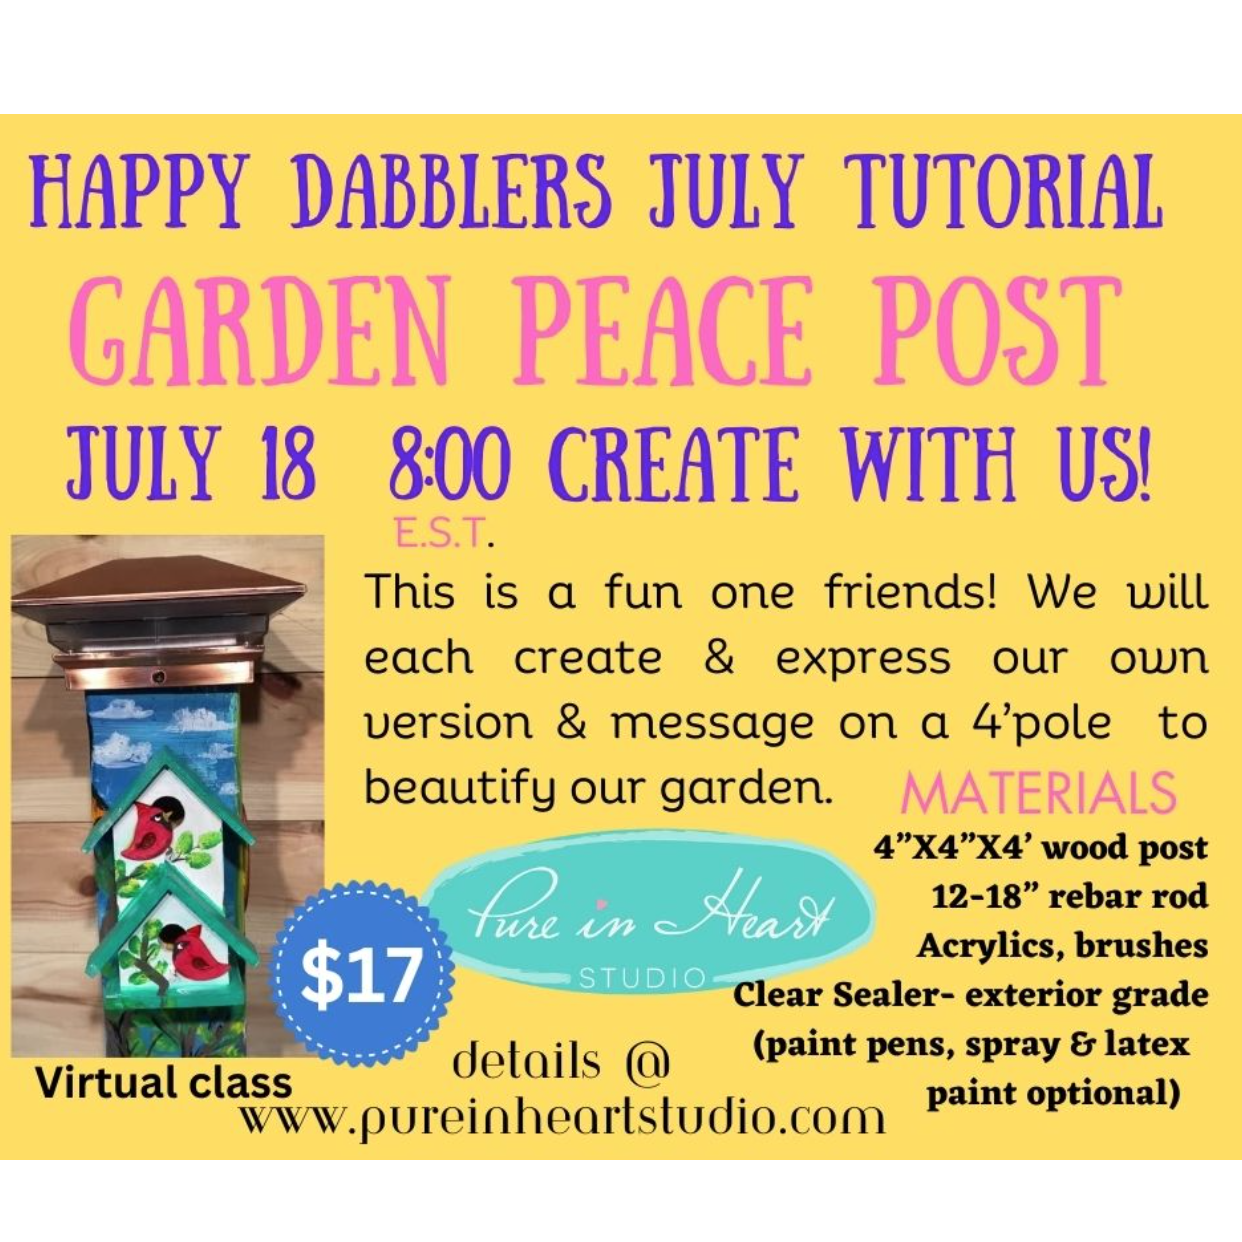
GARDEN PEACE POST!👏🏼🤗
I’m so looking forward to this one friends! A few guidelines to make this go smoothly:
PICKING YOUR POST:
4”x4” is ideal,…but you can get away with something a bit smaller….like 3”x3” from the ‘scrap pile’. Square is great, but round is fine too. 4 Feet long is ideal, but of course can be shorter if you like.
If possible, choose ‘Pressure Treated, or Ground Contact Treated’. Obviously that will be best for longevity sake.
POST PREP:
If it’s super rough, give it a light sand so its safe and easy to work with.
Drill a hole in base of post @ 2-3” deep, so that the rebar can be inserted easily. This can be done before or after painting.
For times sake, pre-paint the base coat of your post. Any type of Paint will work—-Latex, Spray Paint, Chalk, Acrylic, or a combo can be used. Use What you have right? Check oops paint at the store,- small jars of paint samples also work well.
Color Block, Paint sections different colors,—lets make them colorful and happy! For amazing inspiration, go to Pinterest and check out ‘Peace Post, or Garden Posts’. Pre-sketch some ideas of things/messages you’d like to incorporate onto post,…or not—lol. I’ll be putting birds and flowers and other happy things~ you can follow my lead-lol.
Dollar Tree Tip: Inexpensive wood cutouts from Dollar Tree work great as details. In the video below, the owl, birds, hearts and birdhouse are from $Store.
Questions? Put them in the comments on our private Facebook Group and tag me please so I don’t miss them.
This will be a fun one Girls!! ☺️